Blender is a powerful and free 3D modeling tool, perfect for beginners and professionals alike. In this tutorial, we’ll walk through the process of creating a simple play pawn—an essential piece for board games or placeholders in game development. Let’s dive in!
Step 1: Setting Up Blender
Before we start modeling, ensure you have Blender installed. If you haven’t already, download the latest version from Blender’s official website and open a new project.
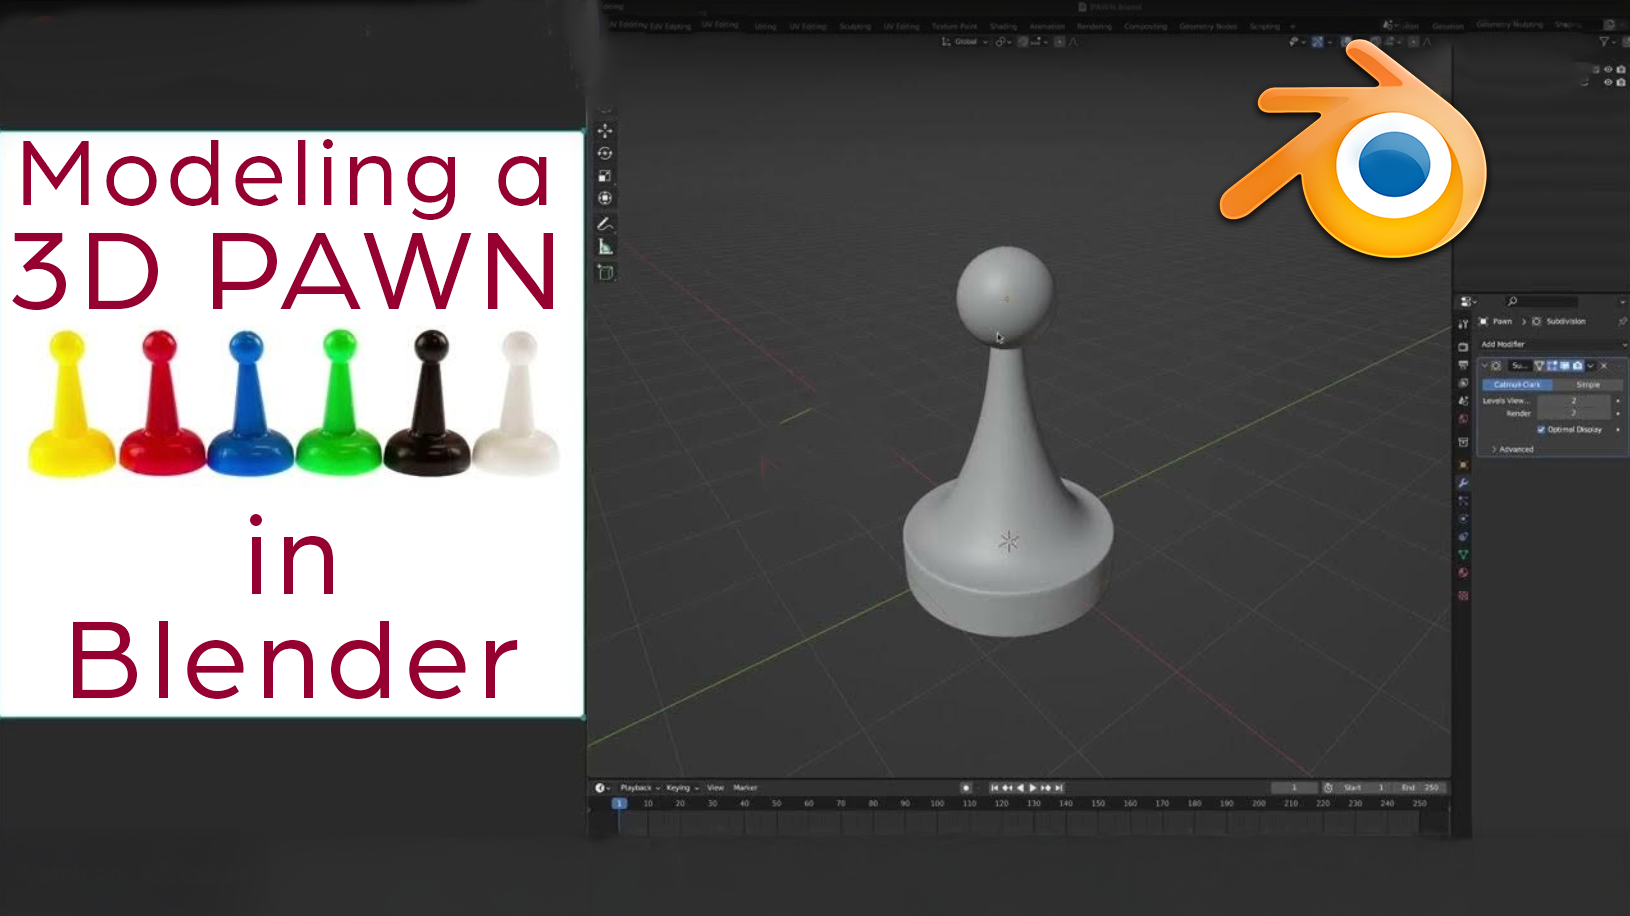
Step 2: Creating the Basic Shape
- Add a Mesh – Start by pressing
Shift + A, then select Mesh > Cylinder. This will serve as the base of the pawn. - Adjust Proportions – Scale the cylinder down along the Z-axis (
S + Z) to make it flatter. - Create the Body – Add a new UV Sphere (
Shift + A > Mesh > UV Sphere). Scale it down (S) and position it on top of the cylinder.
Step 3: Refining the Shape
- Smooth the Edges – Select the cylinder, go to the Modifiers tab, and add a Subdivision Surface modifier.
- Join the Shapes – Select both the cylinder and the sphere (
Shift + Left Click), then pressCtrl + Jto join them into a single object. - Sculpting Details – Switch to Sculpt Mode (
Tab > Sculpt Mode) and use the Smooth Brush to refine any rough edges.
Step 4: Adding Materials and Shading
- Apply Smooth Shading – In Object Mode, right-click your model and select Shade Smooth.
- Create a Material – Open the Shading workspace, click New, and experiment with colors and roughness to get the desired look.
Step 5: Final Touches and Rendering
- Set Up Lighting – Add a light source (
Shift + A > Light > Area Light) and adjust its intensity in the Light Properties. - Choose a Background – Open the World Settings and set a color or an HDRI image.
- Render the Image – Press
F12to render and admire your finished play pawn!
Conclusion
Congratulations! You’ve successfully created a play pawn in Blender. This tutorial introduced fundamental modeling, smoothing, and shading techniques—perfect for beginners. Keep practicing and exploring Blender’s features to refine your skills further.
For more in-depth tutorials, be sure to subscribe to my YouTube channel @1morepush and visit my blog for additional resources!
Happy Blending! 🎨✨