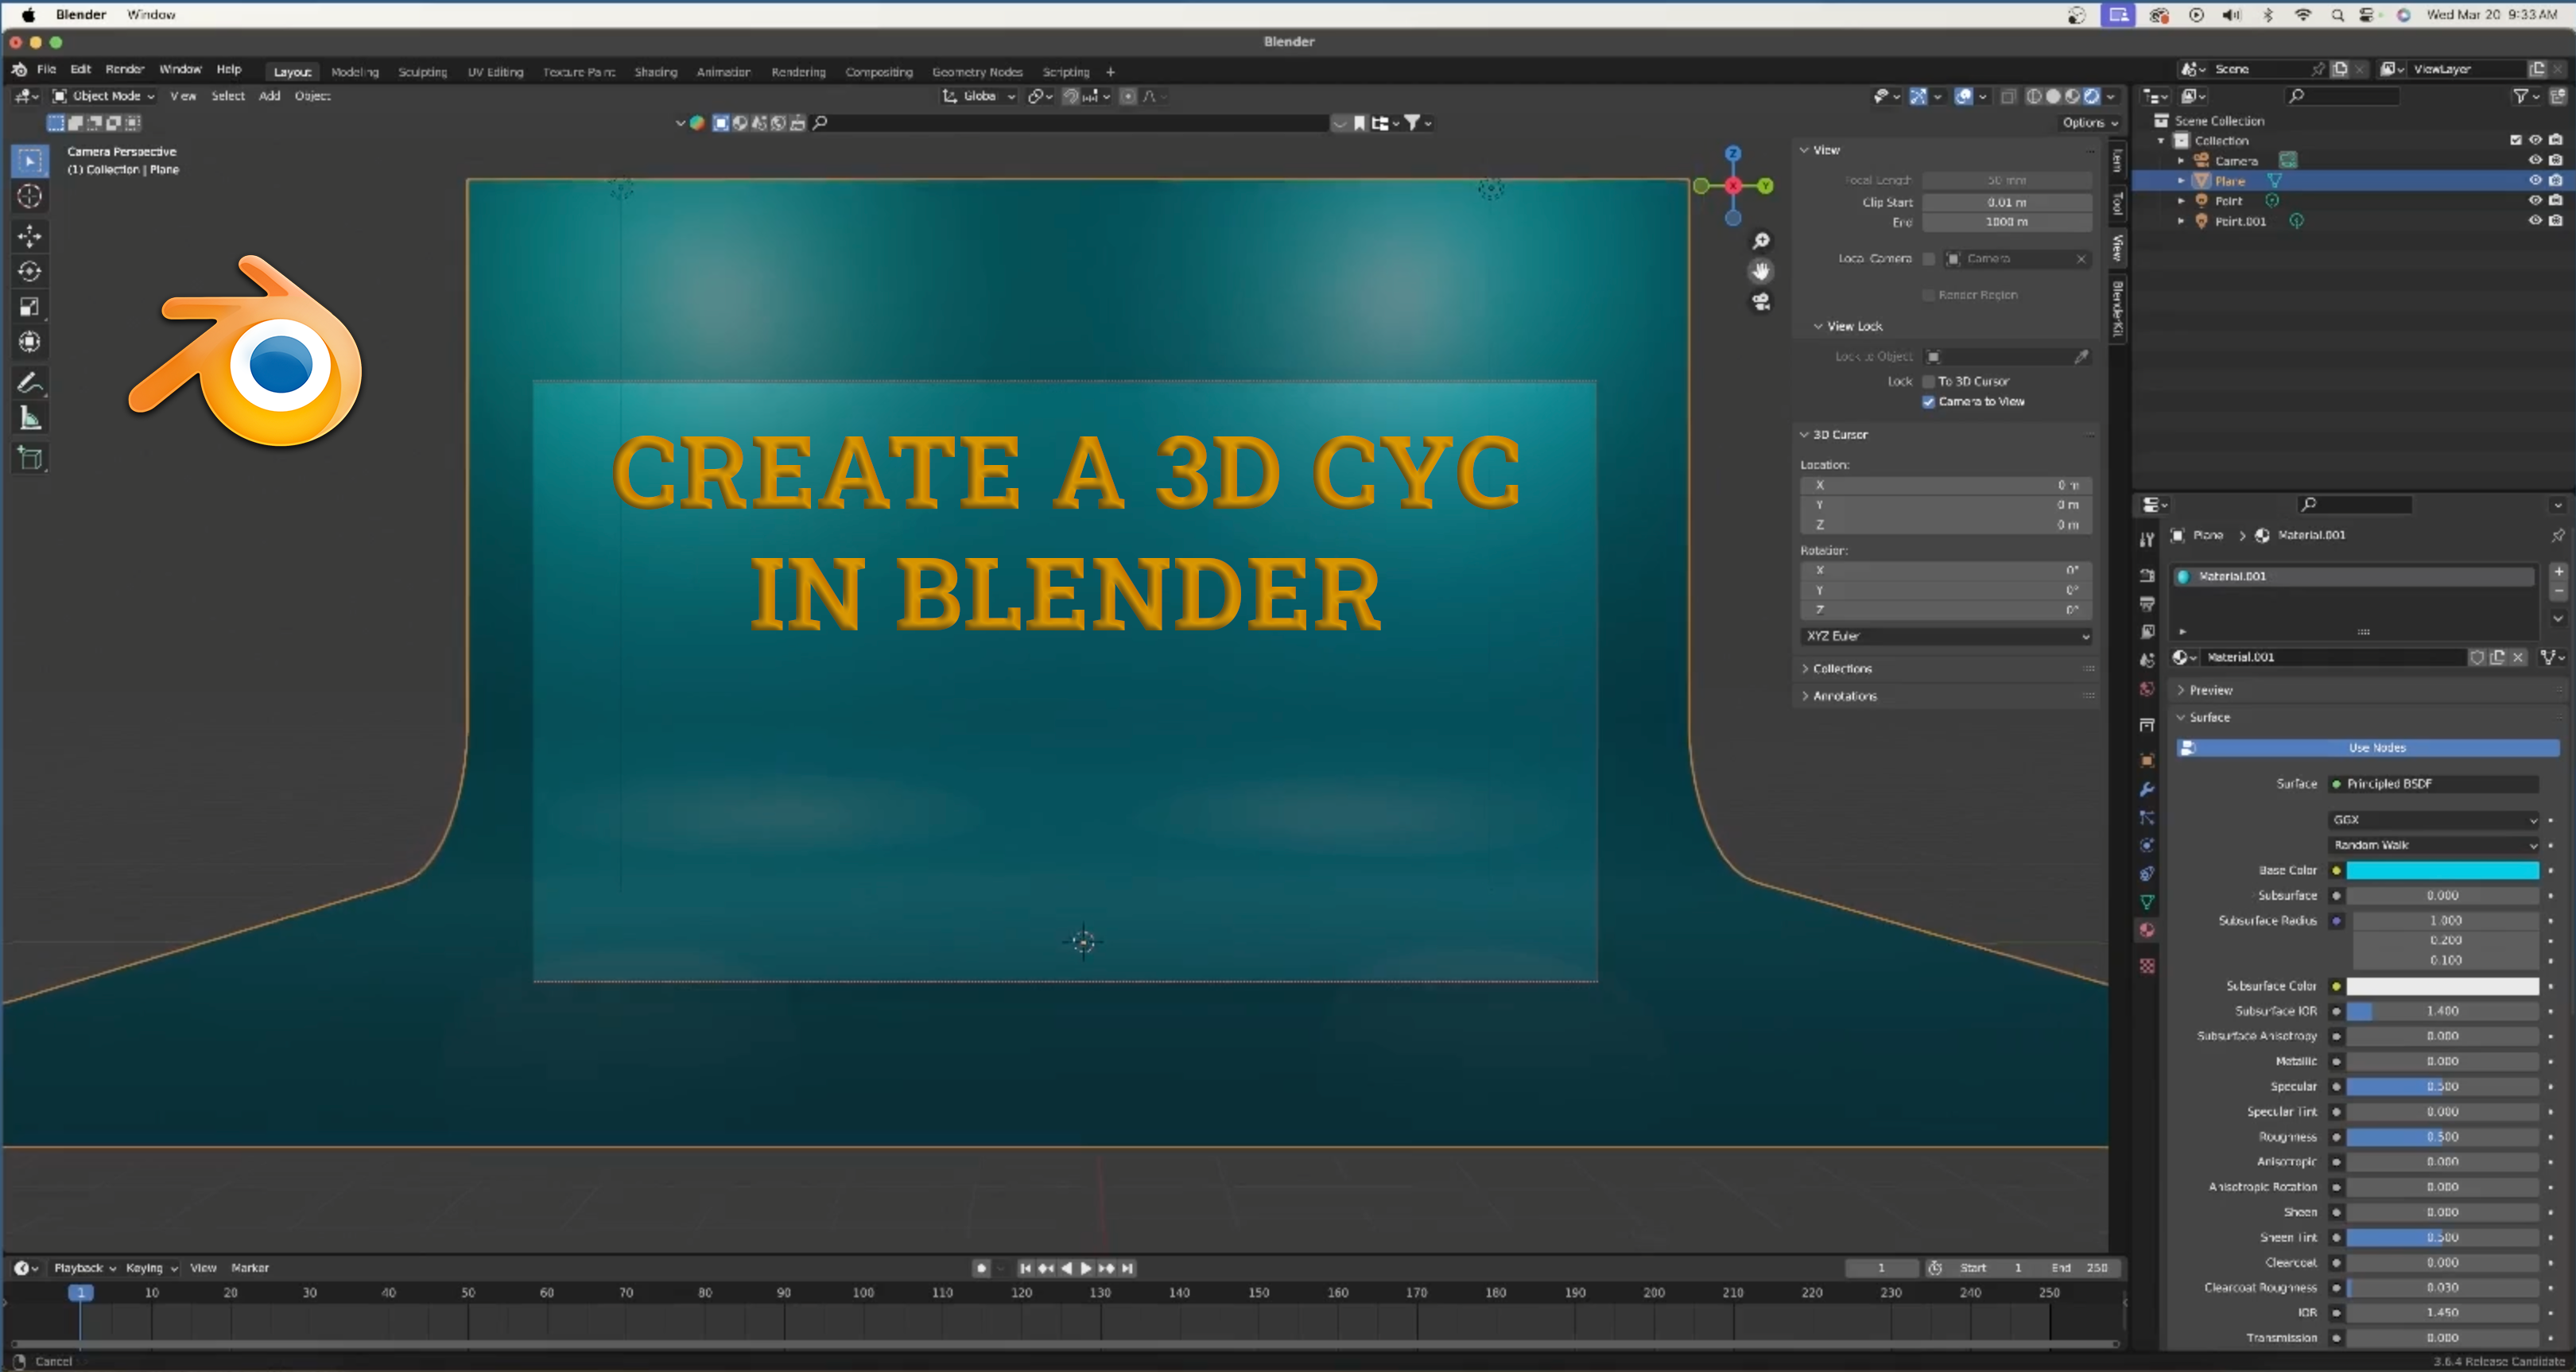
If you’ve ever wanted that clean, infinite background look for your 3D renders—whether for product shots, animations, or just a slick portfolio piece—you need a cyc wall. Also known as a cyclorama, this curved backdrop is a go-to setup for professional photography and film, and it’s just as useful in 3D.
The best part? It’s super easy to create in Blender. Let’s break it down step by step!
What is a Cyc Wall?
A cyc wall is a curved surface that eliminates the hard edge between the floor and background, creating a smooth, seamless transition. This helps your subject stand out without any harsh shadows or distractions. Think of it like an infinity wall for your 3D scenes.
Whether you’re rendering products, characters, or abstract motion designs, a cyc wall gives your scene a professional, polished look with minimal effort.
Step-by-Step: Building a Cyc Wall in Blender
1. Start with a Simple Plane
- Open Blender and delete the default cube (RIP, lil guy).
- Add a Plane (Shift + A → Mesh → Plane).
- Scale it up (S → drag your mouse). This will be the floor of your cyc wall.
2. Add the Back Wall
- Duplicate the plane (Shift + D), then rotate it 90 degrees on the X-axis (R → X → 90).
- Move it up so it stands upright, forming the background wall.
3. Create the Seamless Curve
- Select the back wall and go into Edit Mode (Tab).
- Select the bottom edge and bevel it (Ctrl + B).
- Scroll your mouse wheel up to add more segments—this makes the transition smoother.
4. Adjust & Smooth it Out
- To make the curve even cleaner, add a Subdivision Surface Modifier (Modifier Properties → Add Modifier → Subdivision Surface).
- Increase the subdivision level for a smoother result.
Lighting & Materials for a Pro Look
Now that you’ve got a smooth cyc wall, let’s make it look amazing!
Soft, Even Lighting
- Use an HDRI for natural-looking reflections (World Settings → Add Environment Texture).
- Add soft area lights to avoid harsh shadows and create a studio look.
Perfecting the Material
- A simple white shader works great (Material Properties → New → Principled BSDF).
- Adjust the roughness to control reflections—higher for soft lighting, lower for sharper highlights.
Final Touches & Rendering
Once your cyc wall is set up, you’re ready to start rendering your models in a clean, distraction-free space. Whether you’re using Eevee or Cycles, experiment with lighting and camera angles to get the perfect shot.
Want More Blender Tips?
If this tutorial helped, be sure to check out my video breakdown over on YouTube:
🎥 youtube.com/@1MorePush
And for more in-depth tutorials, head over to my blog:
📖 NicWhiteVideo.com/Blog
Got questions? Drop them in the comments—I’d love to help! Happy blending! 🚀


