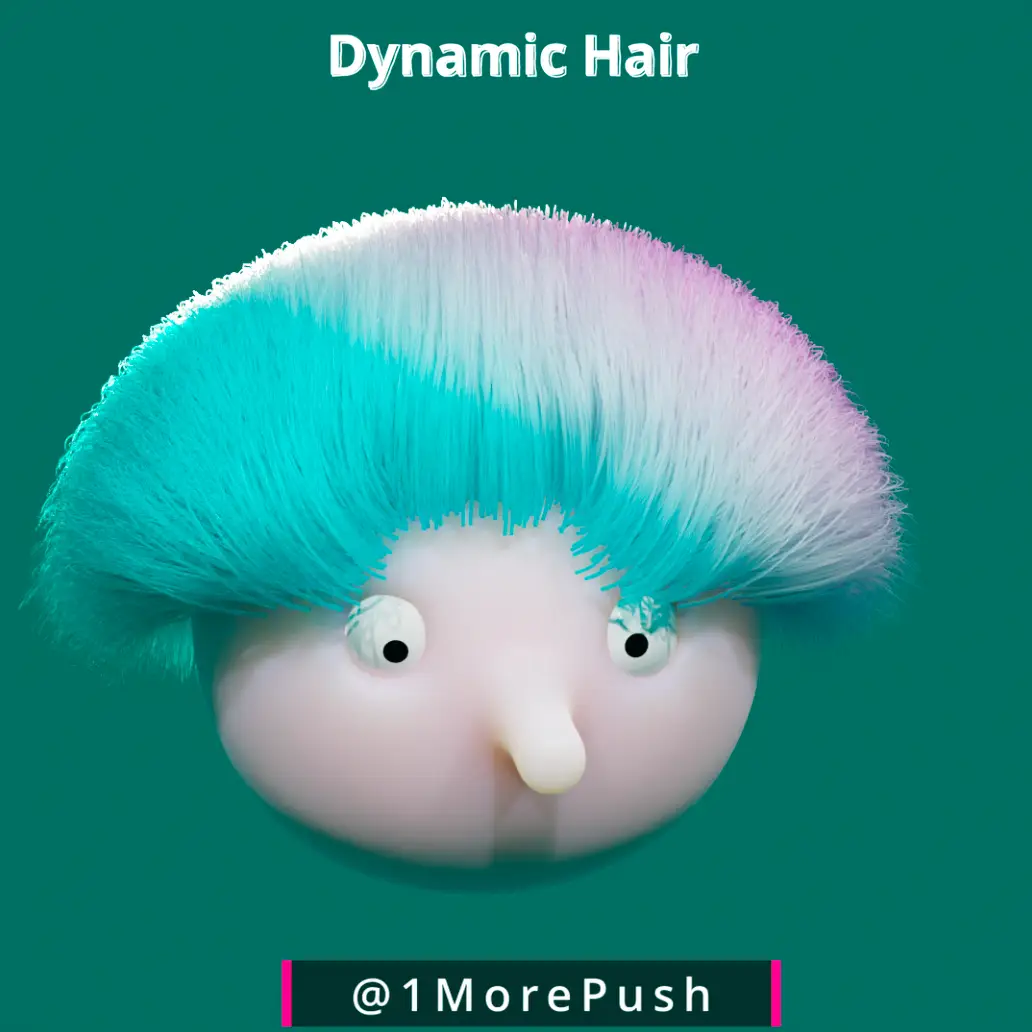
Welcome to 1MorePush! Today I published a quick beginner friendly tutorial of a headbanger with dynamic hair, made entirely in Blender.
Blender for Beginners: Dynamic Hair
Blender, the open-source 3D modeling and animation software, is a creative playground for artists, designers, and enthusiasts. With its vast array of features and tools, Blender empowers users to bring their imaginations to life. One of the key elements in creating realistic characters and objects is dynamic hair.
In this beginner-friendly tutorial, we will dive into the fascinating world of dynamic hair particles in Blender. Whether you’re aiming to craft a lifelike character with flowing locks or add a touch of realism to your 3D models, understanding dynamic hair is essential. Don’t worry if you’re new to Blender; we’ll start from the basics and gradually build your skills.
Setting Up Your Scene
Before we jump into the mesmerizing world of dynamic hair, let’s ensure you have Blender set up and ready to roll. If you haven’t already installed Blender, you can download it from the official website https://www.blender.org/download/
Once you’ve installed Blender, open it up, and you’ll be greeted by the Blender interface. If you’re new to Blender, the interface might seem a bit intimidating at first, but fret not – we’ll guide you through it step by step.
Creating a Simple Model
Now that you have Blender up and running, let’s start by creating a simple 3D model to which we’ll add dynamic hair. For the sake of simplicity, we’ll use the default cube with a subdivision surface, but feel free to adapt this tutorial to your specific project needs.
- Opening a New Project: After launching Blender, you’ll be presented with a blank canvas. This is where you’ll build your 3D world. Take a moment to explore the interface; you’ll notice various panels and windows.
- The 3D Viewport: In the center of your screen, you’ll find the 3D viewport – the heart of your 3D modeling workspace. This is where you’ll interact with your 3D objects.
With your model in place, you’re ready to move on to the next step: preparing the model’s geometry for dynamic hair.
Stay tuned as we continue our journey into the realm of dynamic hair particles in Blender, turning your simple model into a stunning, realistic creation.
Creating Dynamic Hair on a Custom Density Vertex Group
In Blender, dynamic hair particles can add a layer of realism to your 3D models. This tutorial will show you how to create a simple dynamic hair particle system and control its density using a custom vertex group.
Step 1: Import or Create Your Model
Begin by importing your 3D model into Blender or creating a new one. For this tutorial, we’ll assume you have a basic model ready for hair.
Step 2: Prepare Your Model
Before adding dynamic hair, make sure your model has a suitable topology for hair particles. You can add a scalp or hairline to your model, ensuring it follows the area where you want hair to appear.
Step 3: Create a Custom Density Vertex Group
- Select your model in Object Mode.
- Switch to Edit Mode.
- In Edit Mode, select the vertices where you want hair density to be high. These are typically the areas where hair should be thicker, like the scalp.
- With the desired vertices selected, go to the “Vertex Groups” tab in the Properties panel.
- Click the “+ New” button to create a new vertex group. Name it something like “Hair Density.”
Step 4: Assign Vertex Weights
- In the Vertex Groups tab, select the newly created “Hair Density” group.
- Click the “Assign” button to assign the selected vertices to this group. The assigned vertices will be colored blue in the 3D Viewport.
Step 5: Add a Hair Particle System
- Switch back to Object Mode.
- Select your model.
- In the Properties panel, go to the “Particle Properties” tab (the particle icon).
- Click the “+ New” button to create a new particle system.
- Scroll down to the “Vertex Groups” section within the particle settings.
Step 6: Configure Hair Particle Settings
- Under the “Density” section, select the “Hair Density” vertex group you created earlier from the dropdown menu.
- Adjust other hair particle settings like length, thickness, and randomness to your liking. You can experiment with these settings to achieve your desired look.
Step 7: Enable Dynamics
If you want your hair to move realistically, you can enable dynamics:
- In the Particle Properties tab, scroll down to the “Hair Dynamics” section.
- Check the “Hair Dynamics” checkbox.
- Adjust settings like stiffness, damping, and gravity to control the hair’s behavior.
Step 8: Comb and Style Your Hair
To give your hair particles a natural look, you can use Blender’s grooming tools. In the 3D Viewport, switch to “Particle Edit” mode and use tools like combing, cutting, and shaping to style your hair as desired.
Step 9: Render Your Scene
With your dynamic hair particle system in place, you can now render your scene. Go to the “Render” settings to configure your output options, and hit “Render” to see your dynamic hair in action.
Congratulations! You’ve successfully created a simple dynamic hair particle system on a custom density vertex group in Blender. Experiment with different settings and styling techniques to achieve the perfect look for your 3D model.
If you struggle, just give it 1MorePush!! You got this!


